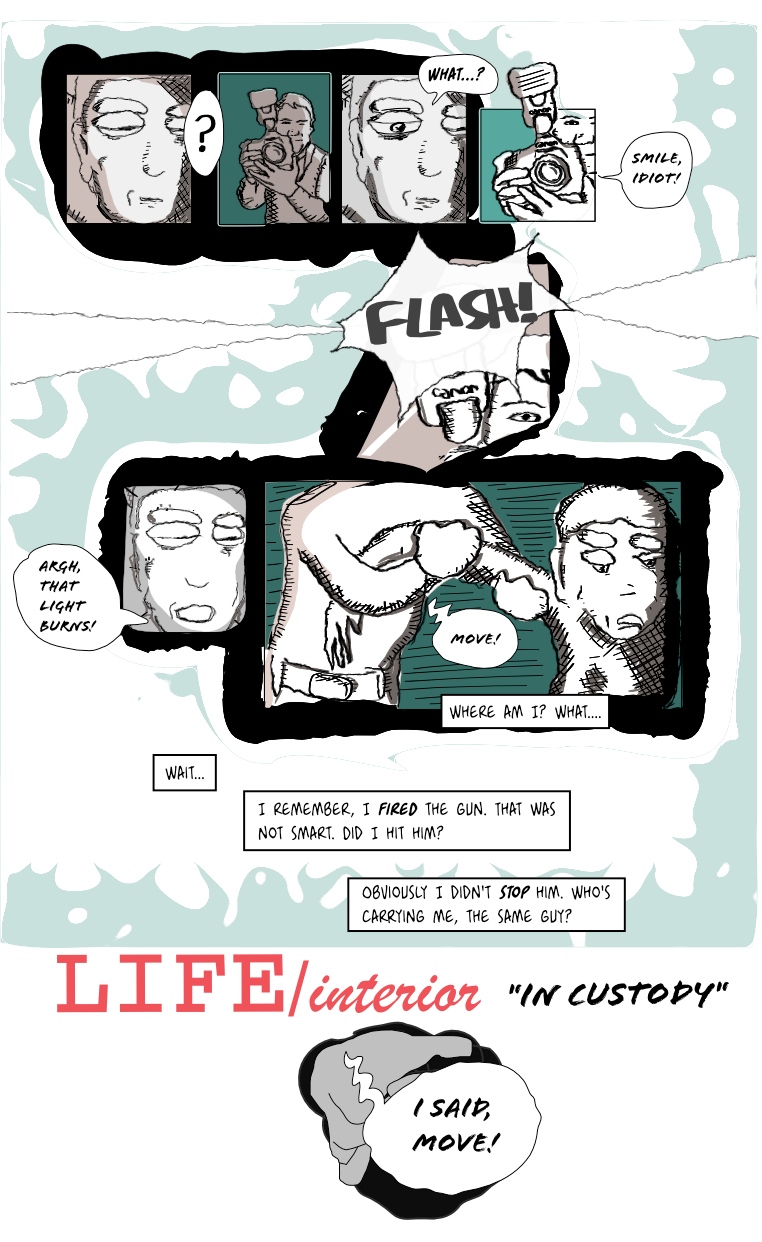
LIFE/interior: In custody (1) 12 Nov 2010
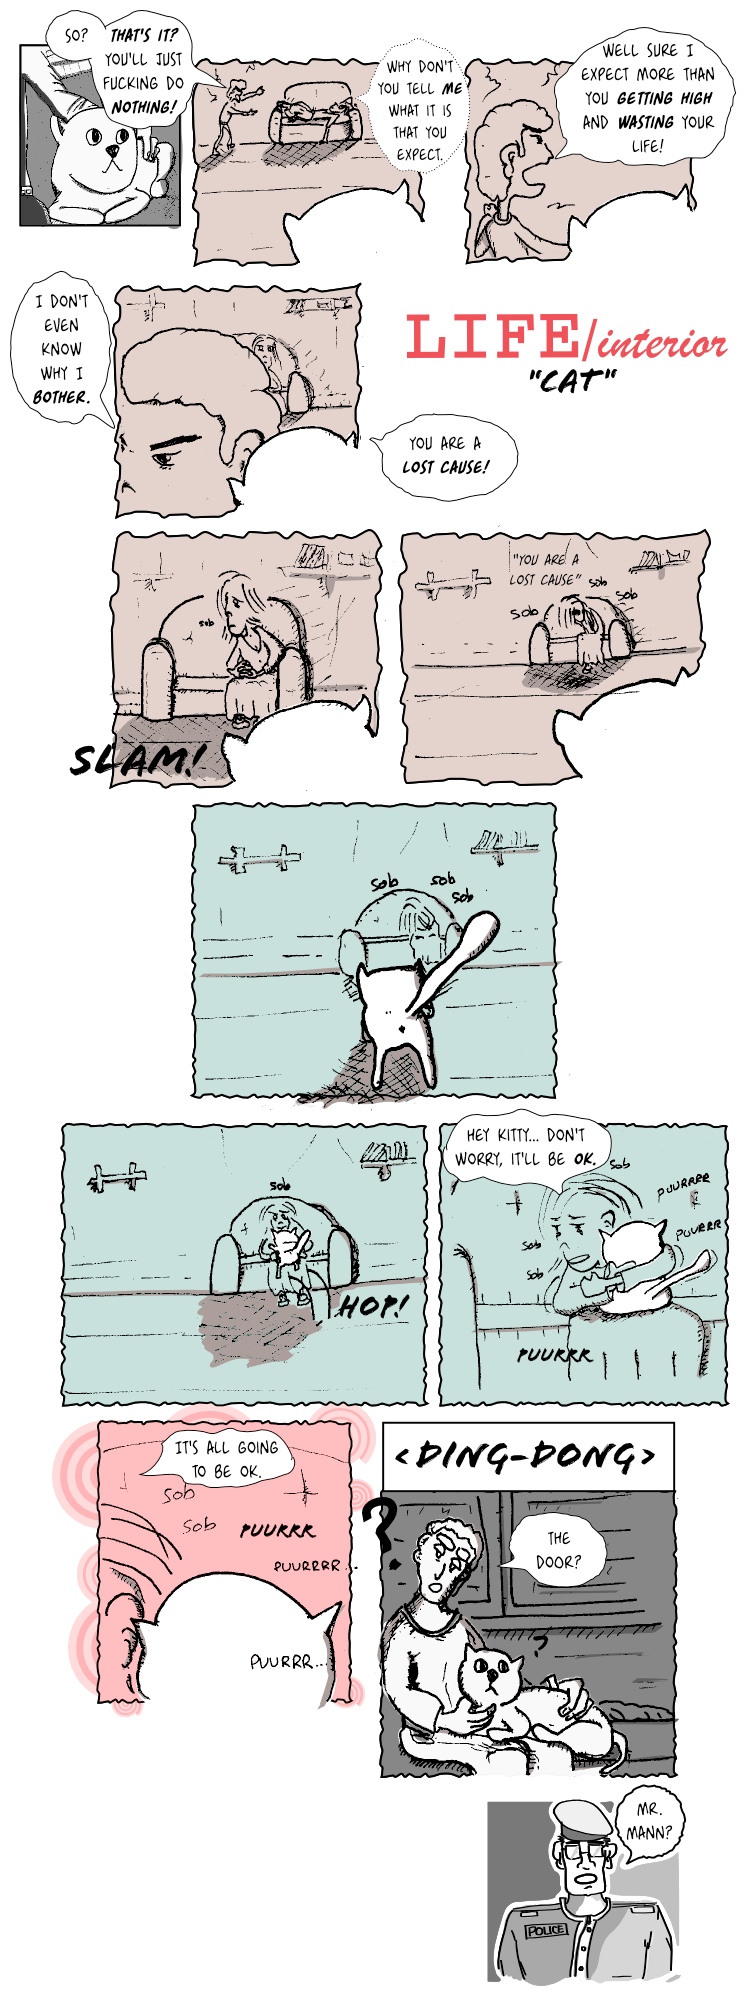
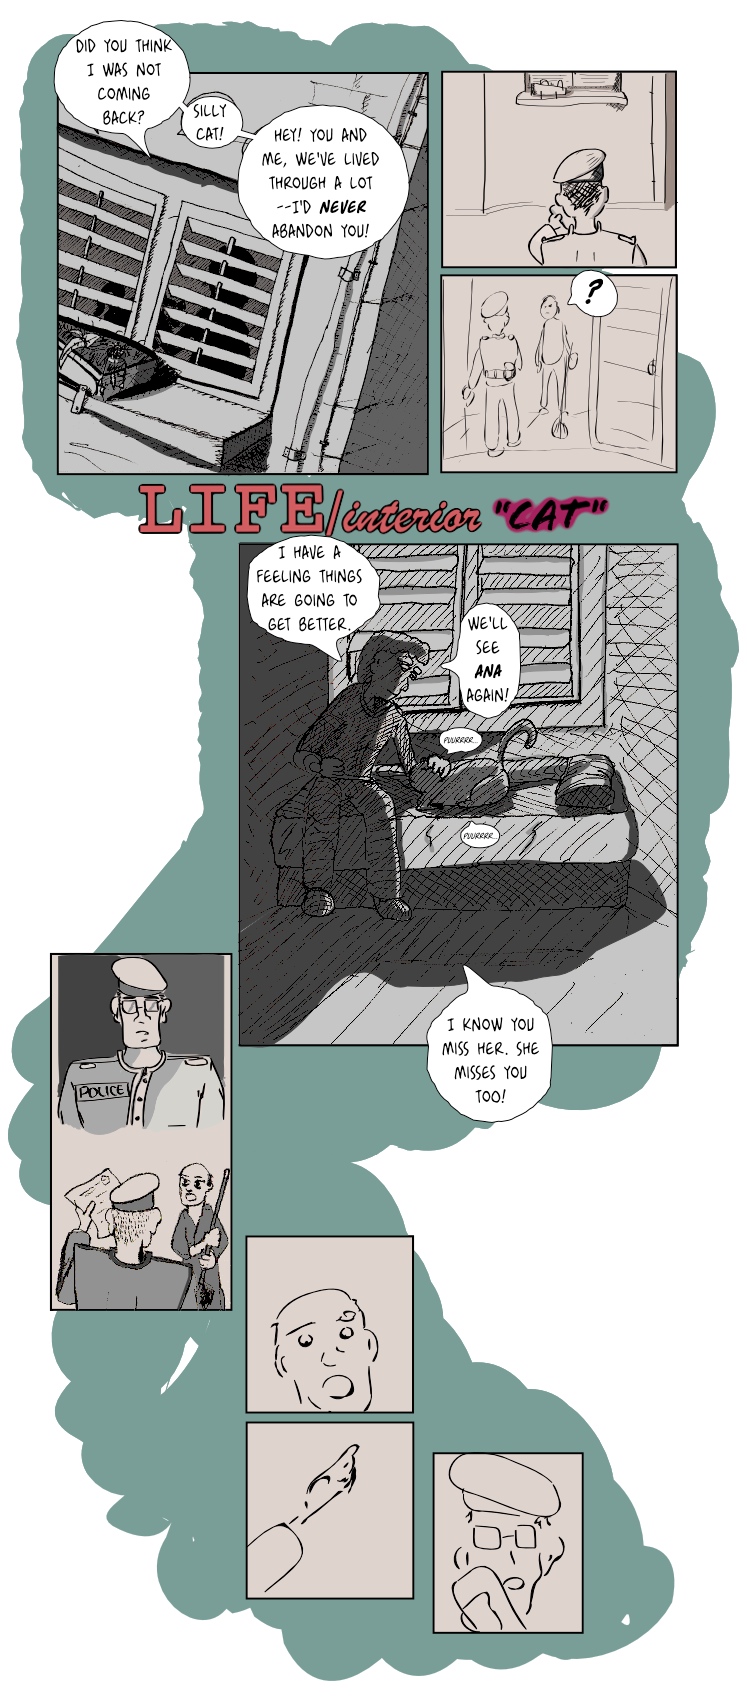
There we go, another page. I had a few technical difficulties this time, so it's back to drawing directly on screen, I didn't even really do a proper draft. I did some pencil work but then just drew everything using the trustworthy Wacom tablet (the cheapest one by the way). I'd say the page is actually a bit of a 'filler' but I kind of like it and hope you'll bear with me.
Other technicalities: The 'Roughen' script in Inkscape came up very helpful, and there's a 'Comics Cream' filter applied to the background. Crosshatch was done manually though.
Update: Changed font size, reduced stroke size.
(more...)LIFE/interior: Cat (7) 07 Nov 2010
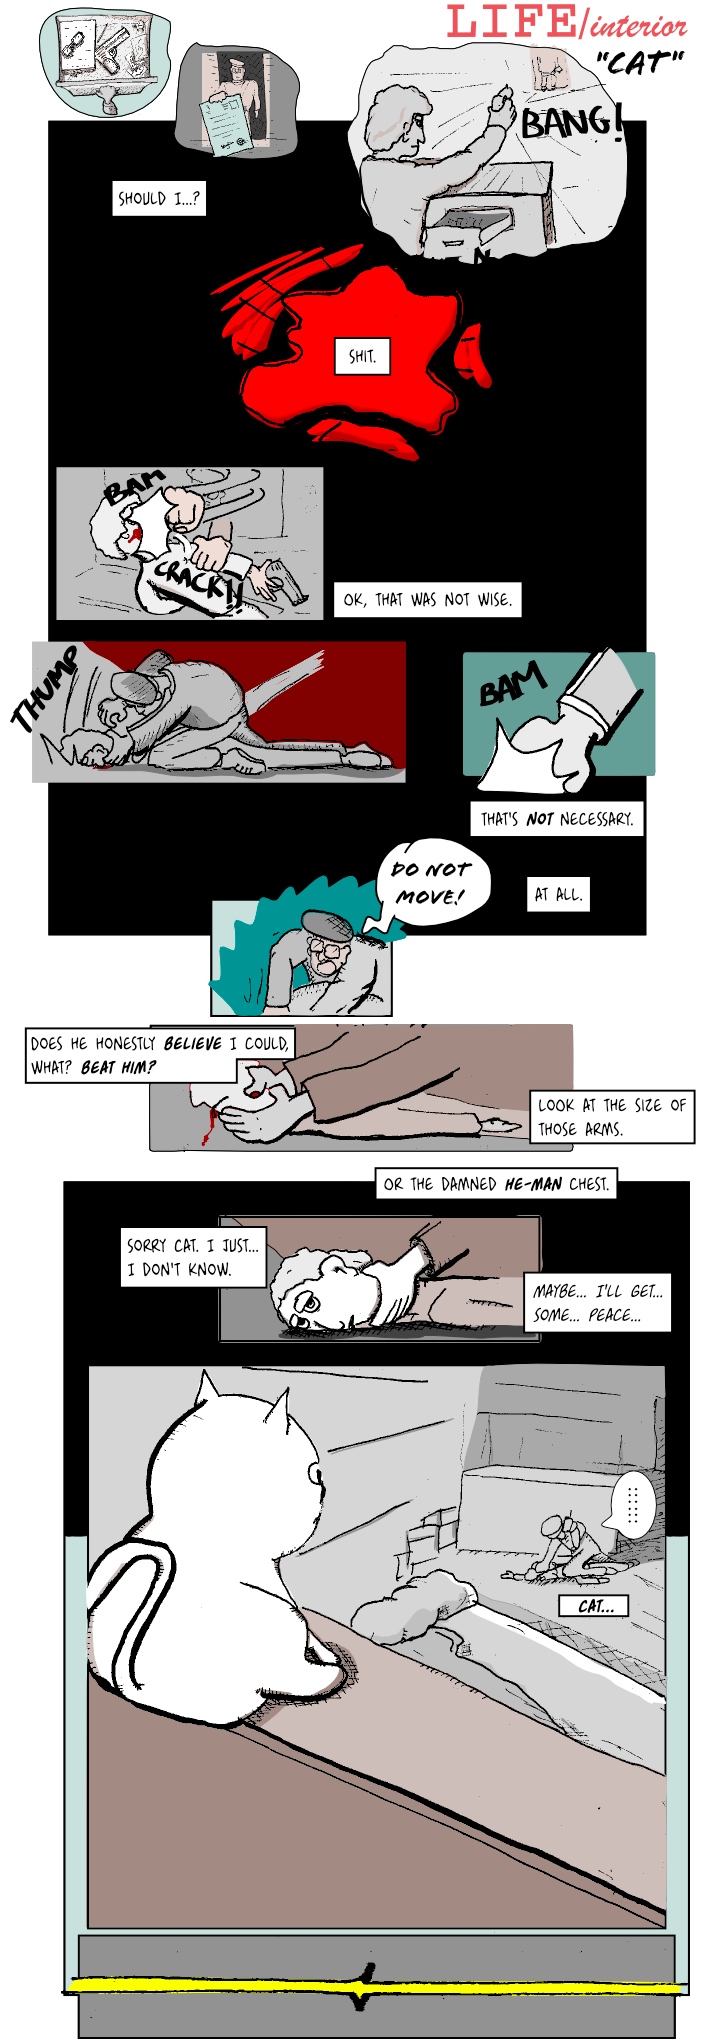
LIFE/interior: Cat (6) 01 Nov 2010
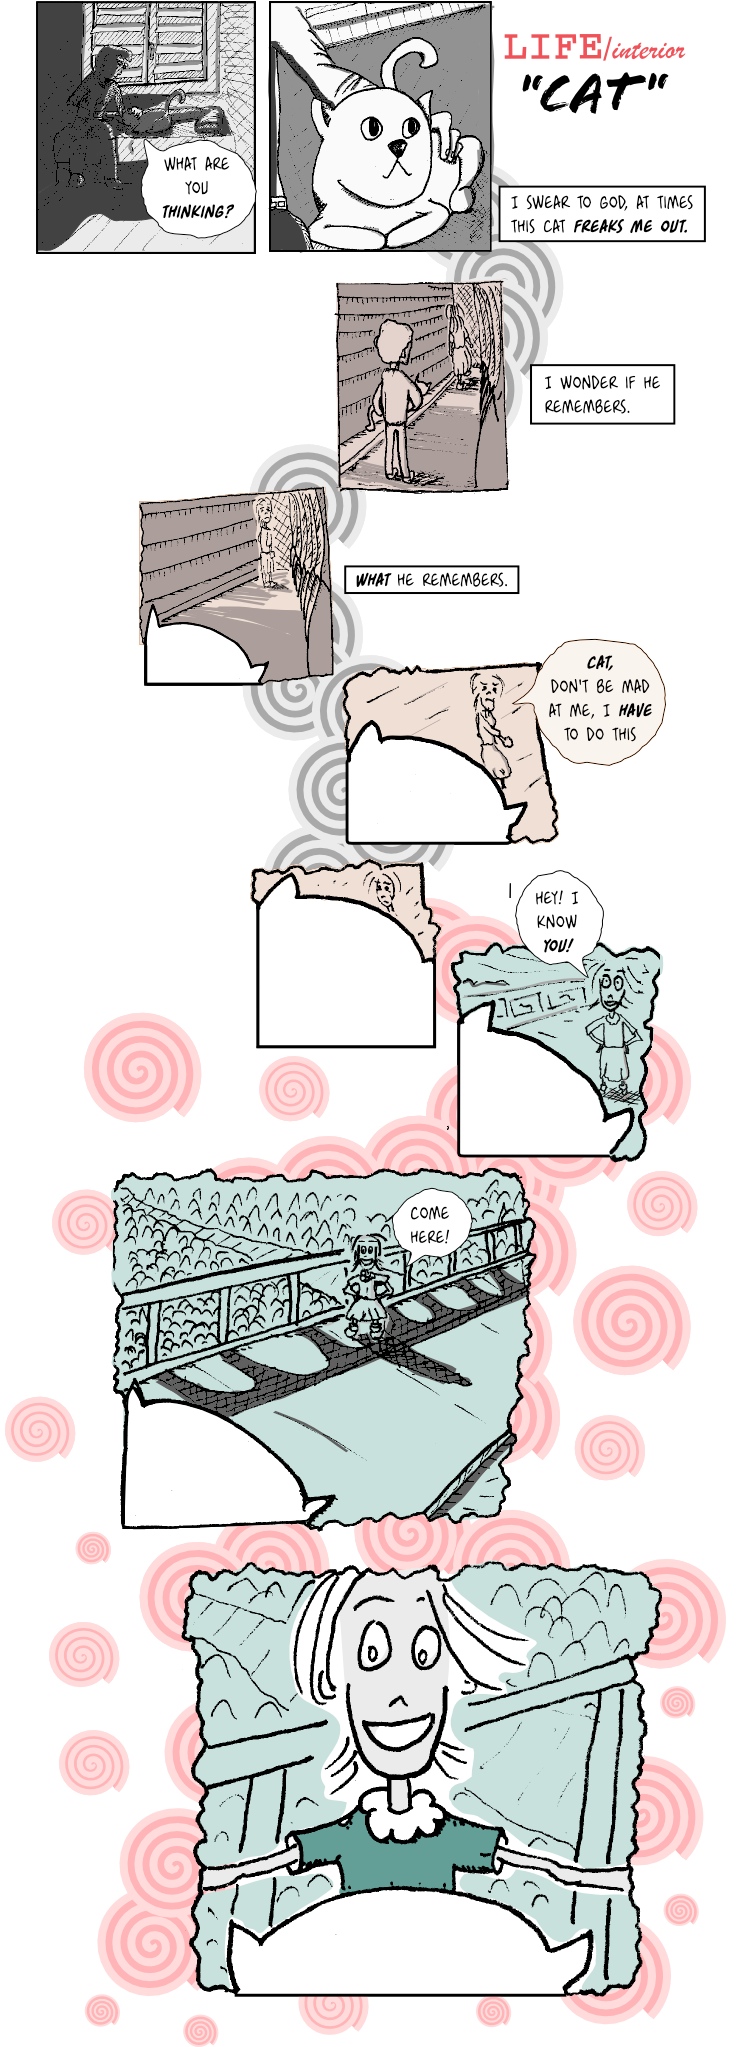
Well we are getting somewhere here.
Oh, and I solemnly promise to publish the next one in less than a week.
On the technical side of things, I think this is the first page where everything but the balloons and the shading was hand-drawn. It's an interesting experience. I draw the panels individually and then play with different layouts in Inkscape.
Update: Changed font, stretched the page a bit.
(more...)Blog: Extracting ink from scans 31 Oct 2010
I thought I would nicely document what I'm doing right now in terms of transforming a regular scan of an inked comic into a transparent image that can be added to Inkscape (or Gimp) for coloring and shading.
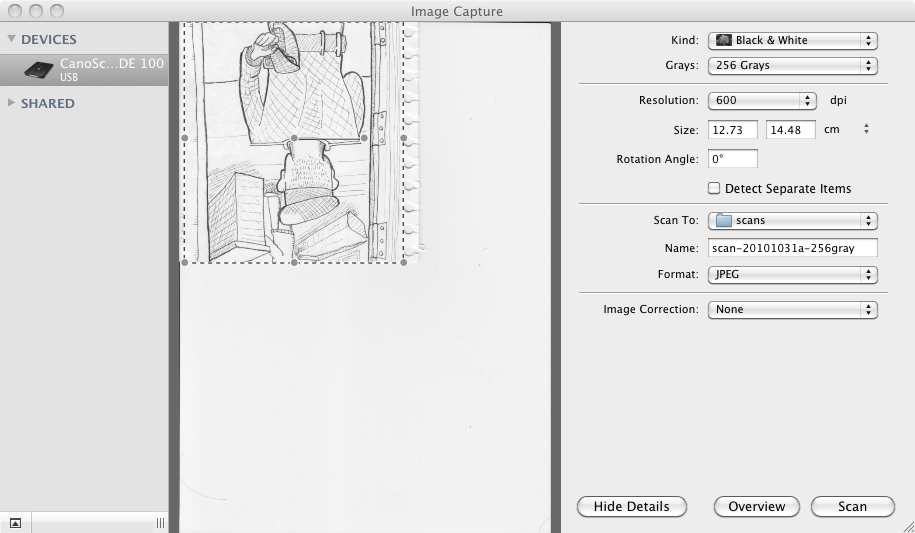
Step one, scan an image: I'm doing it using Image Capture in Mac OS X just because it's dead simple. I stay far far away from software provided by Canon, it's simply not worth it for my needs. Here's a capture of the process:
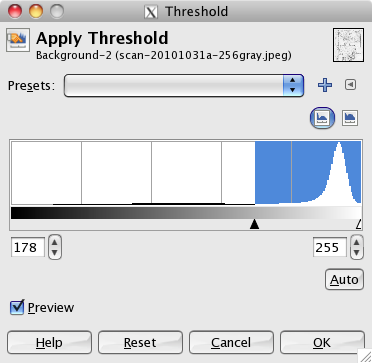
Step two, open image in GIMP and Color-Threshold it: It's a bit of an unfortunate name for such great software, "Gimp", ahem, but let's put that aside for a minute. In my case I did first an Image --> Transform --> Rotate until I had it looking the right orientation. Then from the Colors menu I selected Threshold.
From the manual:
The Threshold tool transforms the current layer or the selection into a black and white image, where white pixels represent the pixels of the image whose Value is in the threshold range, and black pixels represent pixels with Value out of the threshold range.So, the background is mostly slight variations around a shade of white, and ink is slight variations around shades of black. What we want is to end up with an almost pure white background.
Option 1: Use the 'Auto' setting. This seems to work most of the time. In my case it gives 178 - 255 as values. Option 2: Adjust manually, this can also be used to make it more restrictive and then apply filters to the resulting image to enhance the result.
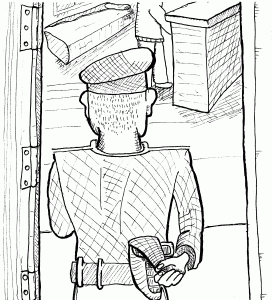
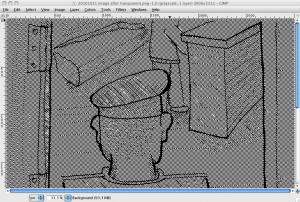
The max threshold will most likely always be 255 (all white). I went for the Auto this time. Here is the resulting image, if you look at it in zoom you'll see some detail was lost, but not too much.
Step Three make background transparent: This is very straightforward when you know where everything is, but a bit daunting at the beginning.
- Add a transparency layer, by selecting Layer --> Transparency --> Add Alpha Channel.
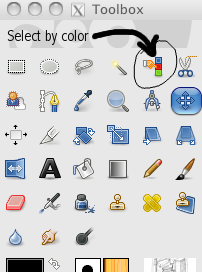
- Now choose the Select by Color tool from the palette
Once selected, just click somewhere in the background and it will select all the colors around the click pixel, within a range to accommodate slight differences (e.g. all shades of white). Since this is already a pure white background it's not going to do much, but you would need it for regular images as in those the background will never be completely made of pure white. The range is defined by a Threshold in the Toolbox.
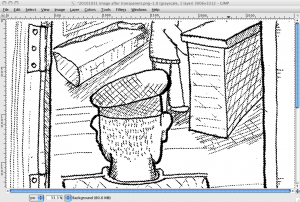
After clicking, the whole background is selected. The selection is indicated by a set of moving lines lines that look like this (you won't see much in the thumbnail, click to see the selection):
Now you just press the Delete key or select Edit/Clear and the white background will be removed.
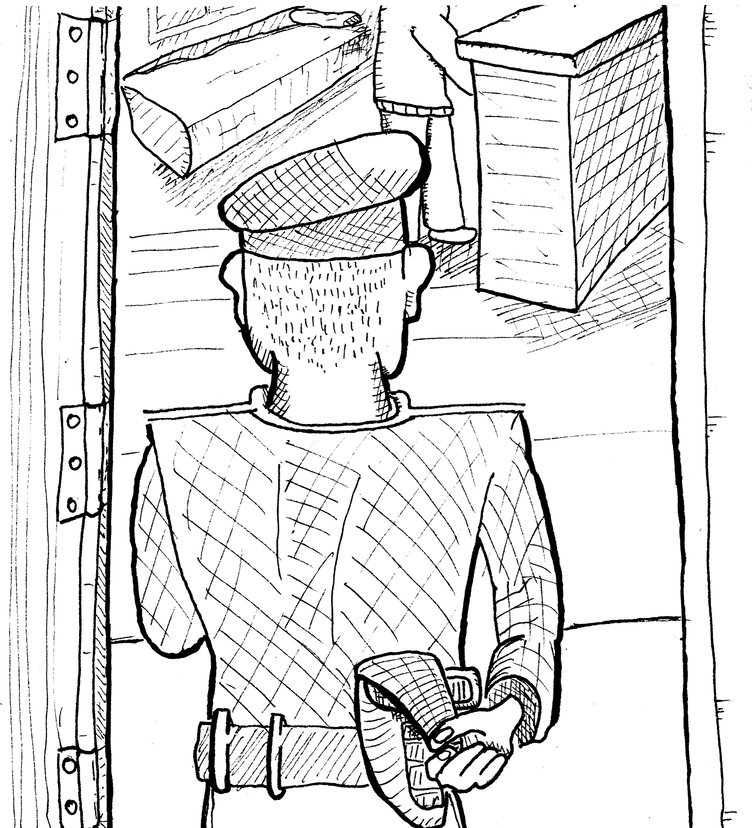
The above is the image as displayed in Gimp with a transparent background (Gimp uses a checkered gray background to indicate transparency). Now the final image looks like this:
Finally all you have to do now is take this image and insert it into a separate layer either in Photoshop/GIMP or Illustrator/Inkscape and add the rest of the elements and shading.
So, why all this trouble? what was the point? Well, color is much easily applied in a layer below the ink layer. If you try to apply color over an unmodified scan, well, it's not going to be easy. In order to do that, you need a transparent ink layer.
But we will leave that for a future post.
Update: You can see the final image in the this comic post.
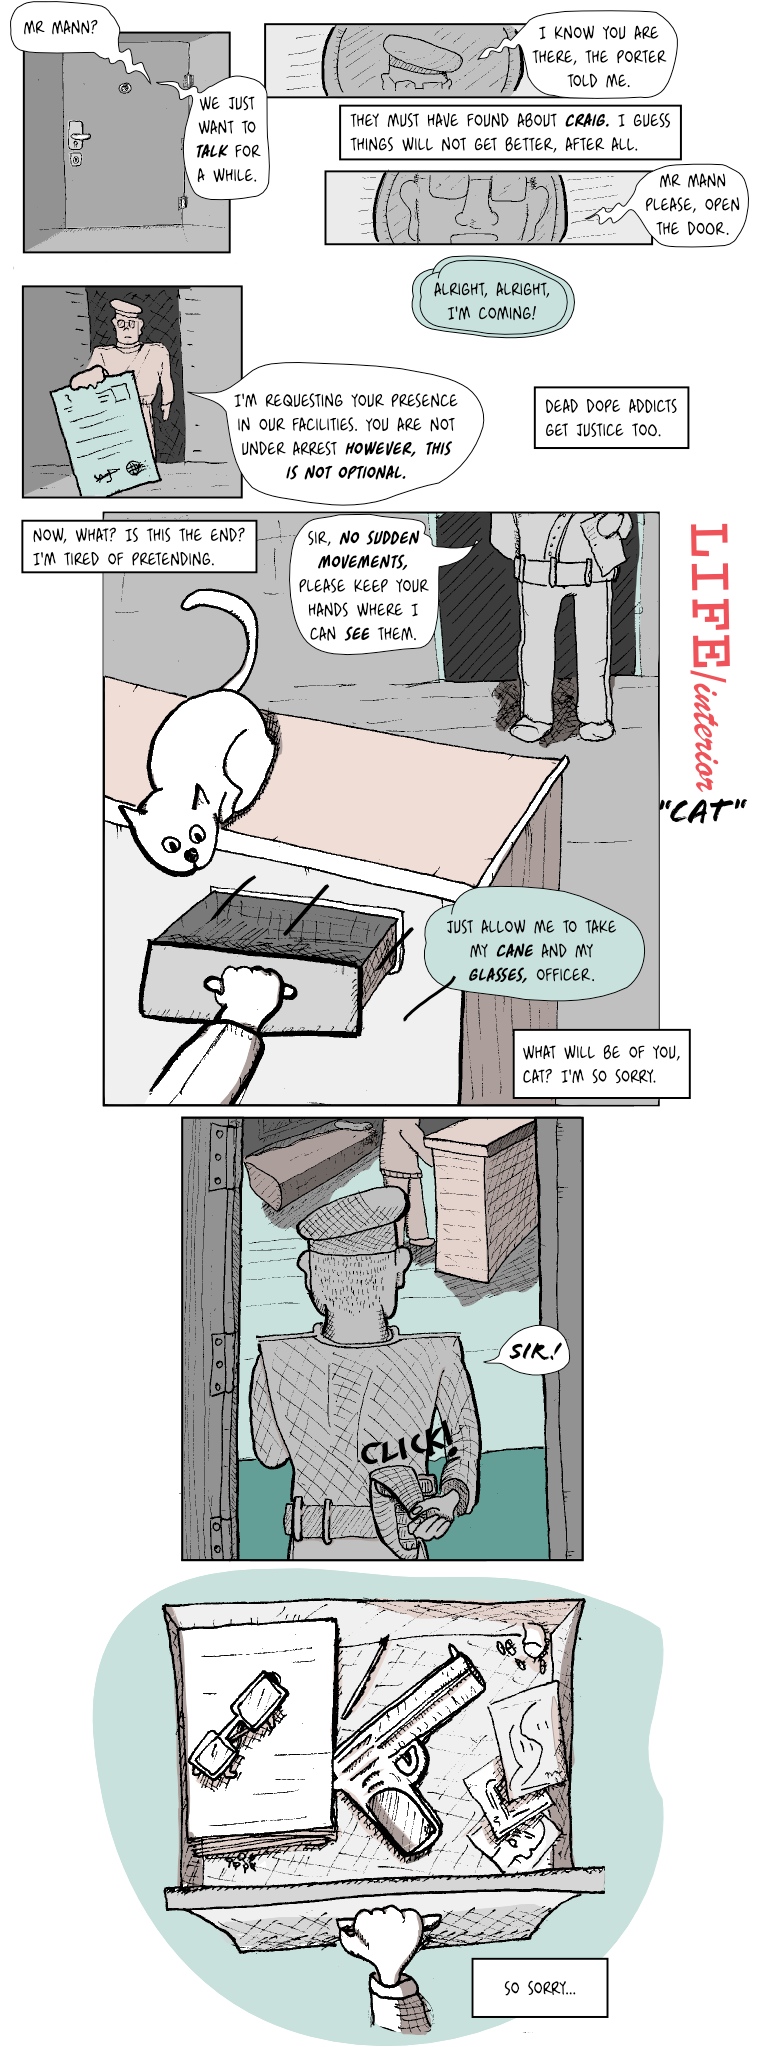
(more...)LIFE/interior: Cat (5) 25 Oct 2010
Well there it is, the promised next page.
PS: Are my dialogues a bit cheesy, or is it just me...?
Update: Changed font.
(more...)LIFE/interior: Cat (4) 20 Oct 2010
Most of this page, as it's obvious, was drawn by hand. It took me a while to figure out how to extract the ink from the scans, it's not perfect still, you can see the lines are a bit gray/black, need to tweak it a bit more. This page introduces: CATVISION™. The next page will continue this scene, it's already drawn and scanned but I still need to lay it out and shade it nicely. It should be up in a couple of days. / Ok, CATVISION it's not an actual trademark, but still... :)
Update: Changed font, stretched a bit the layout.
(more...)3-Panel Comic: Isa the intern (4) 18 Oct 2010
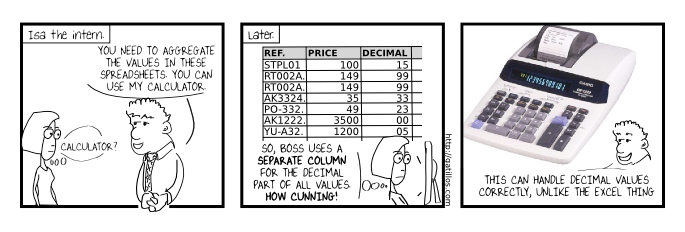
And again, this is absolutely true. There is a certain boss that does this, and he makes his assistant aggregate the values by hand using a calculator just like that. REALLY.
She tried to convince him to use a simple sum on the Excel file and he thanked her but said she should first start to know the company and how they work, and then try to improve the processes, instead of changing everything so that only she would know how to do it.
(more...)LIFE/interior: Cat (3) 17 Oct 2010
Mixing styles, maybe it's too easy to tell I like practicing :). I thought about adding dialogue to the background action happening there, but I think it can be understood without words, and that adds to the mystery.
Update: Changed font.
(more...)3-Panel Comic: Isa the intern (3) 16 Oct 2010
I know these things are not that funny, these are kind of an in-joke at work because this is all based on TRUE stories from my workplace.
(more...)Blog: Slightly different style for a panel 14 Oct 2010
Yesterday I was playing with the scan of a drawing I had previously inked by hand. I added some shadows using Inkscape and have yet to decide whether to use it or to redraw it using vector graphics. Maybe I'll just fix a bit the shapes inside the room and call it a panel :). I love drawings with this rough feeling, I only worry that maybe it's hard to recognize the actual contents of the panel.
What do you think? Can you tell what is going on without too much effort?
